From chaos in the closet to good organization with chic labels
Do you finally want your closet to be tidy? You have already taken the first step by buying these labels. We will now explain how to proceed. This booklet gives you the most important tips and tricks for organizing your cupboards and shelves sensibly. You will also receive instructions on what to look out for when using the labels.

The problem with clutter in the closet Closet doors open and you can't find anything - many people are familiar with the problem. There is simply no overview of what is in the cupboards. This creates unnecessary multiple purchases because the food you already have is hiding somewhere in the cupboard.
In addition, the new purchases are stuffed into the closet from the front and older things are pushed to the back. As a result, food often expires and unfortunately has to be thrown away.
It is even worse when the old food creates a problem, for example with food moths. Once you have these moths in your closet, it's hard to get rid of them. They quickly infest all other food, so that all supplies then have to be completely replaced. This is neither sustainable nor cost-effective.
Closet organization basics At the beginning of an organization project, you first have to get an overview of what you have and whether the objects are cleverly placed. The best way to do this is to divide all your things into categories. For example: plates, cutlery, cooking utensils, supplies, breakfast foods, condiments, etc.
With the correct placement in the cabinet, it is important to pay attention to "function" and "frequency". This means that the objects are placed according to their function. For example, spices and cooking utensils near the stove or coffee and cups near the coffee machine. This creates short distances and simplifies the processes during use - and that saves time.
The frequency of use means that things that are not needed often are moved to places that are more difficult to reach. Items that are used more often, on the other hand, should be placed within easy reach. Cake plates, large bowls or special cooking accessories such as a wok are items that are rarely used and can therefore be cleared to the top or in corners. Cups and glasses can be stowed away at eye level in the cupboards. The area under the worktop is ideal for plates, pots and groceries.
The most important thing is that the order makes sense for you and fits your habits.
Closet doors open and you can't find anything - many people are familiar with the problem. There is simply no overview of what is in the cupboards. This creates unnecessary multiple purchases because the food you already have is hiding somewhere in the cupboard.
In addition, the new purchases are stuffed into the closet from the front and older things are pushed to the back. As a result, food often expires and unfortunately has to be thrown away.
It is even worse when the old food creates a problem, for example with food moths. Once you have these moths in your closet, it's hard to get rid of them. They quickly infest all other food, so that all supplies then have to be completely replaced. This is neither sustainable nor cost-effective.
At the beginning of an organization project, you first have to get an overview of what you have and whether the objects are cleverly placed. The best way to do this is to divide all your things into categories. For example: plates, cutlery, cooking utensils, supplies, breakfast foods, condiments, etc.
With the correct placement in the cabinet, it is important to pay attention to "function" and "frequency". This means that the objects are placed according to their function. For example, spices and cooking utensils near the stove or coffee and cups near the coffee machine. This creates short distances and simplifies the processes during use - and that saves time.
The frequency of use means that things that are not needed often are moved to places that are more difficult to reach. Items that are used more often, on the other hand, should be placed within easy reach. Cake plates, large bowls or special cooking accessories such as a wok are items that are rarely used and can therefore be cleared to the top or in corners. Cups and glasses can be stowed away at eye level in the cupboards. The area under the worktop is ideal for plates, pots and groceries.
The most important thing is that the order makes sense for you and fits your habits.
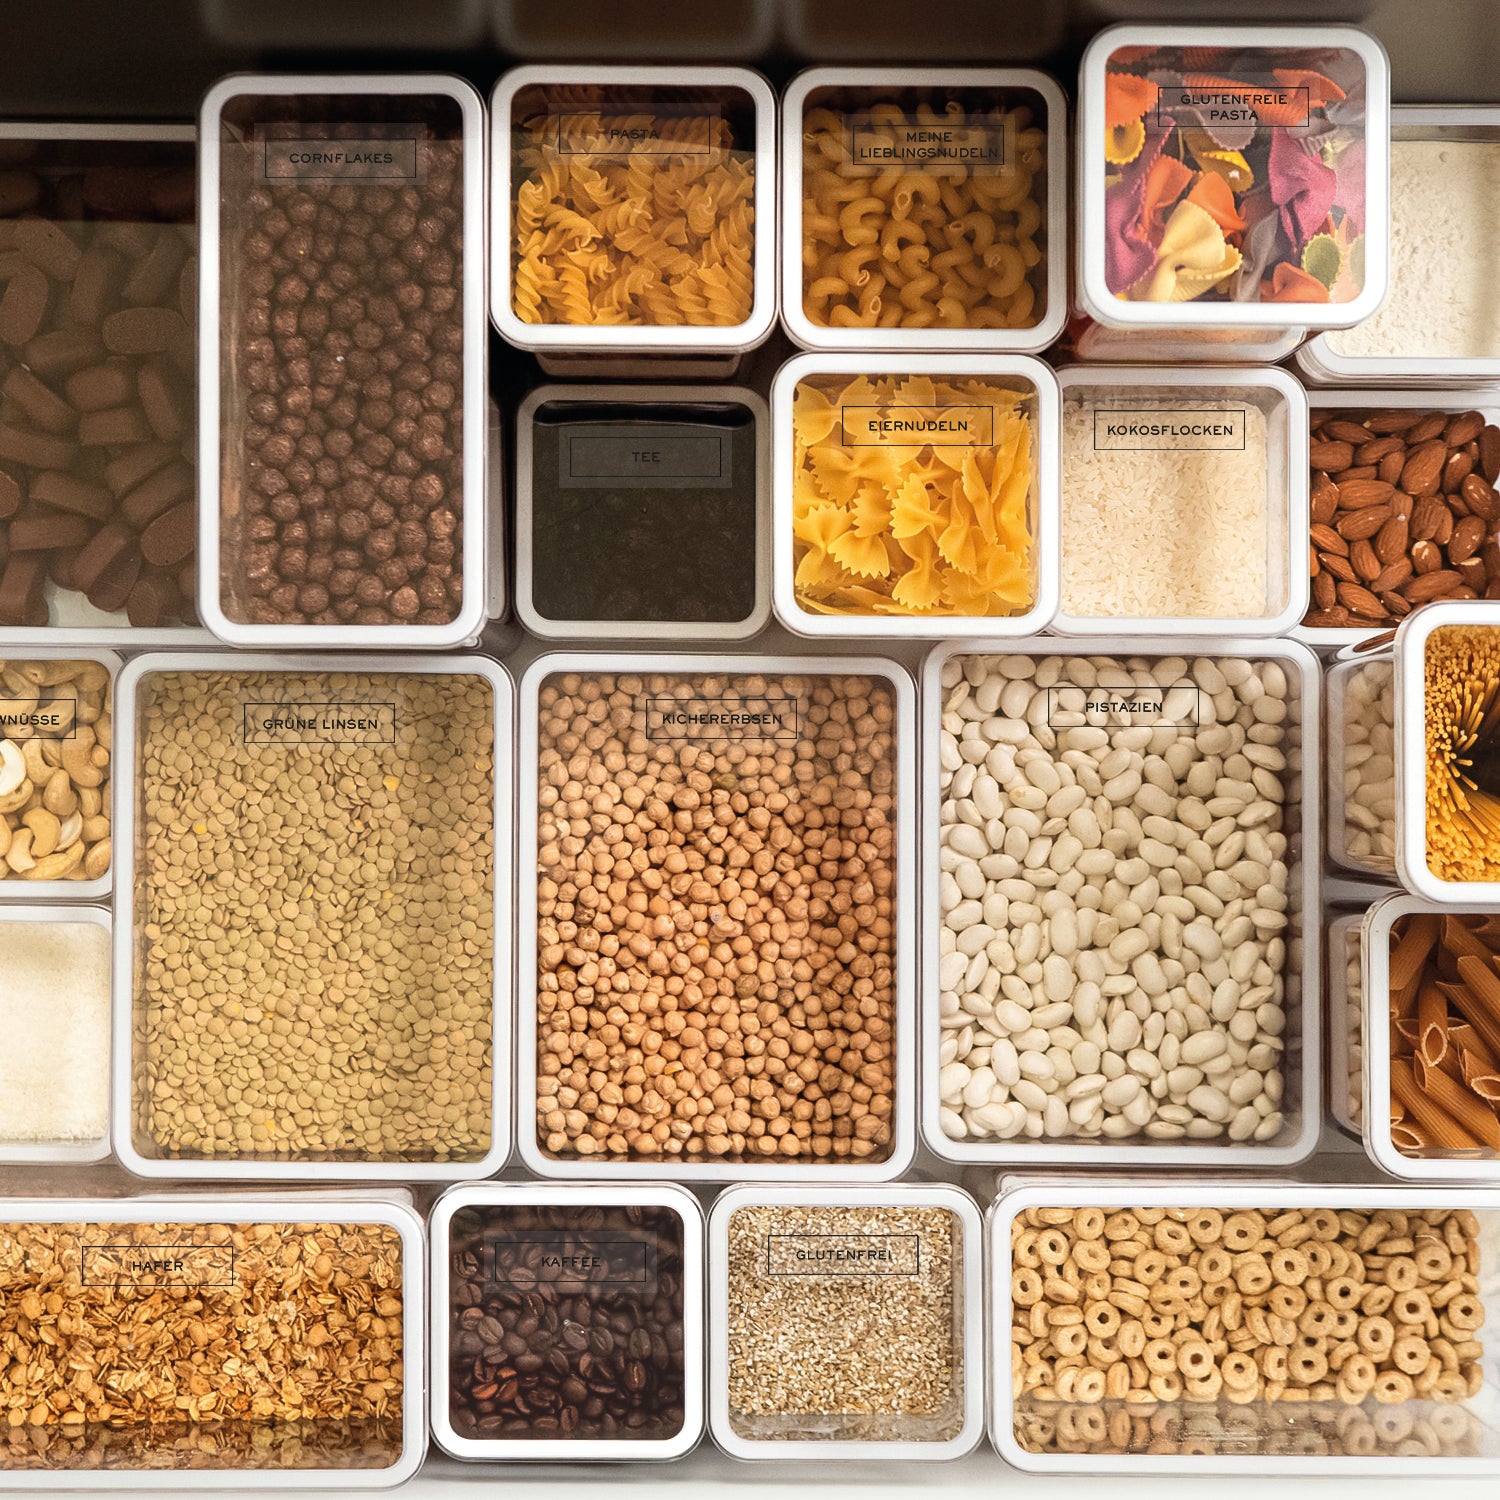

Three common closet organizing mistakes 1. Unused cabinet height
The wrong sizes of containers are often bought that do not use the full height of the drawer or cabinet. On the other hand, with high containers, the space at the top can be used optimally and there is more space available in length and width for additional containers.
2. Containers that are too small
Another mistake is when the size of the containers is selected based on opened packages. If a new, full pack is then bought, it only partially fits in and there is something left over. Therefore, always assume the full pack. Note that storage can sizes are in liters, not kilograms.
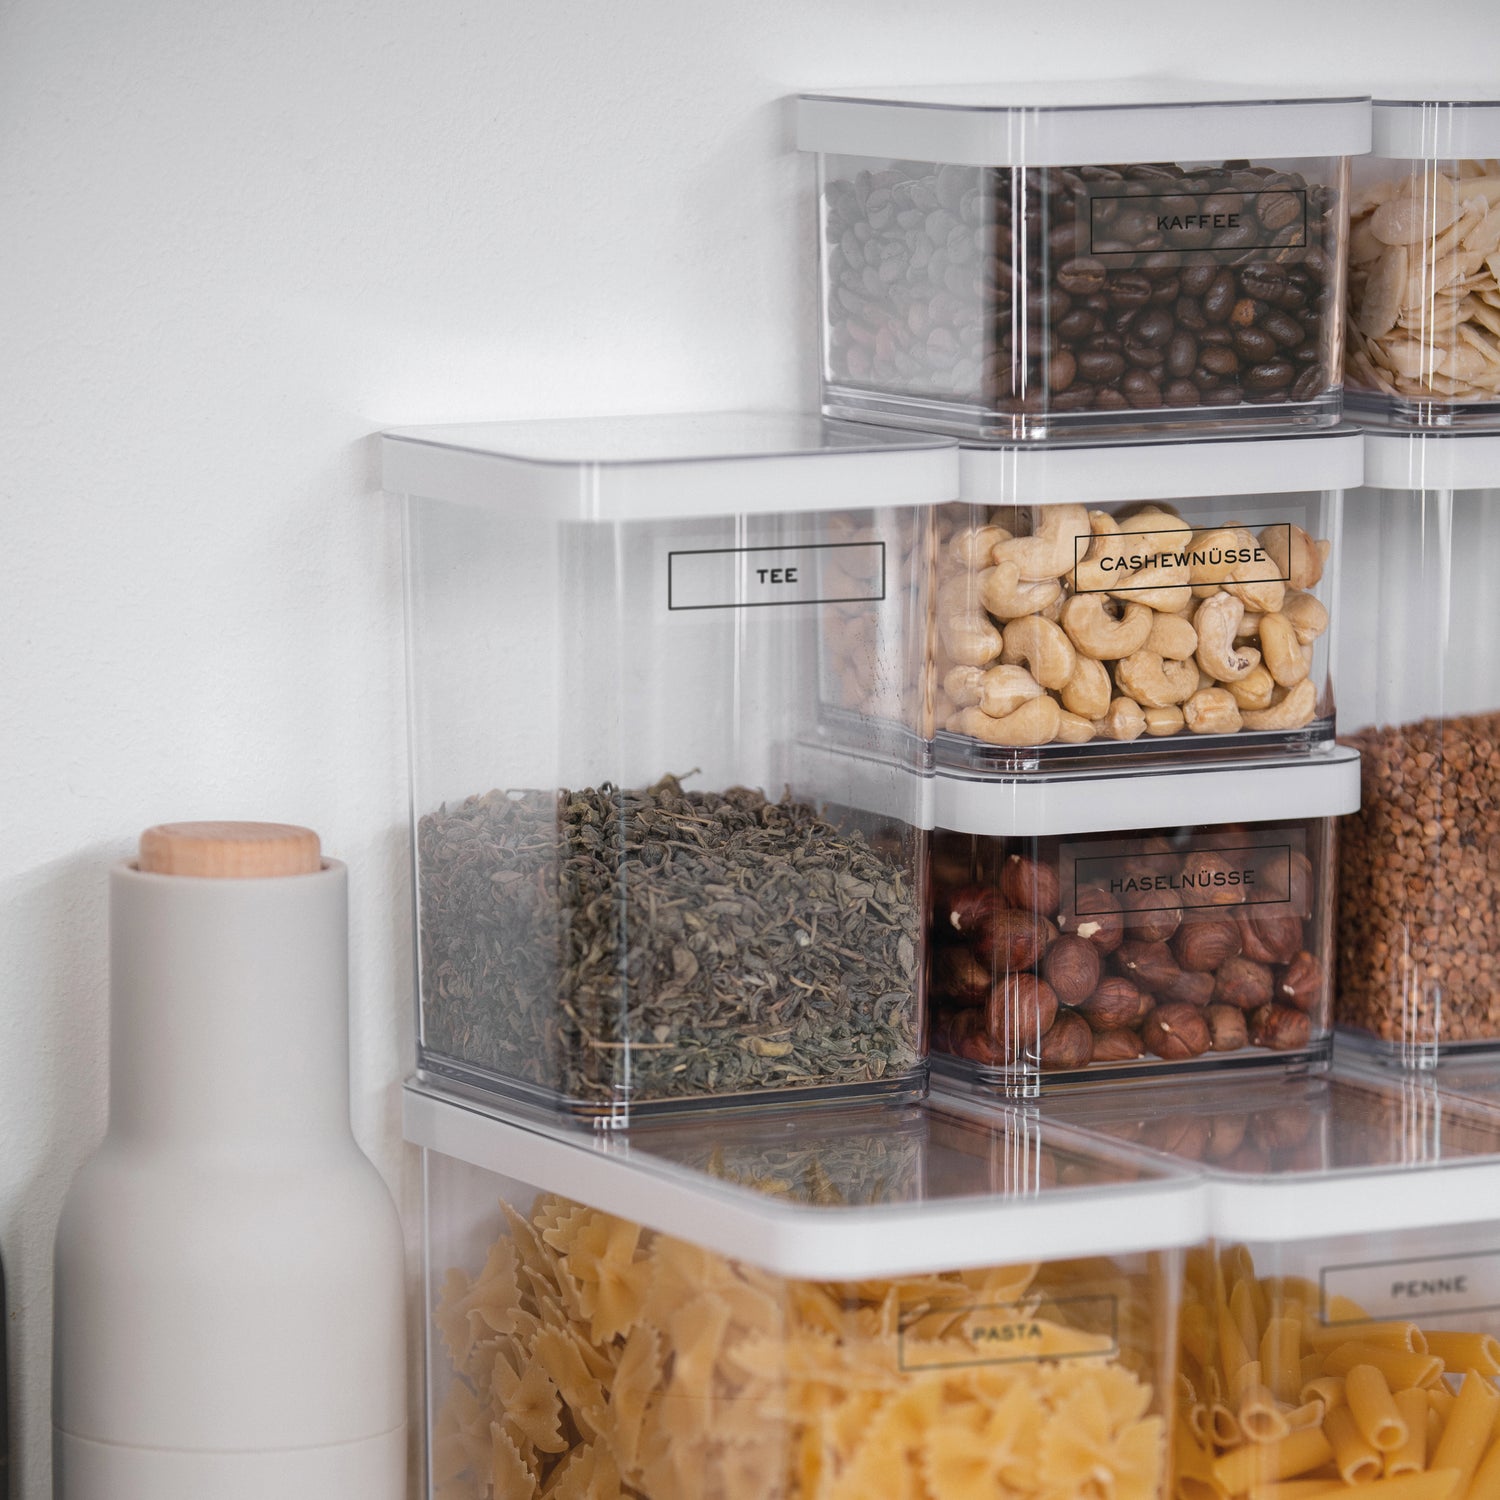
3. Label placed illegibly
When using labels, it can happen that they are not positioned correctly. For example, if they are attached too far down or on the wrong side, the label is no longer visible. It is therefore advisable to gradually increase the container size backwards so that you can always read the label in the upper part of the container.
1. Unused cabinet height
The wrong sizes of containers are often bought that do not use the full height of the drawer or cabinet. On the other hand, with high containers, the space at the top can be used optimally and there is more space available in length and width for additional containers.
2. Containers that are too small
Another mistake is when the size of the containers is selected based on opened packages. If a new, full pack is then bought, it only partially fits in and there is something left over. Therefore, always assume the full pack. Note that storage can sizes are in liters, not kilograms.
3. Label placed illegibly
When using labels, it can happen that they are not positioned correctly. For example, if they are attached too far down or on the wrong side, the label is no longer visible. It is therefore advisable to gradually increase the container size backwards so that you can always read the label in the upper part of the container.
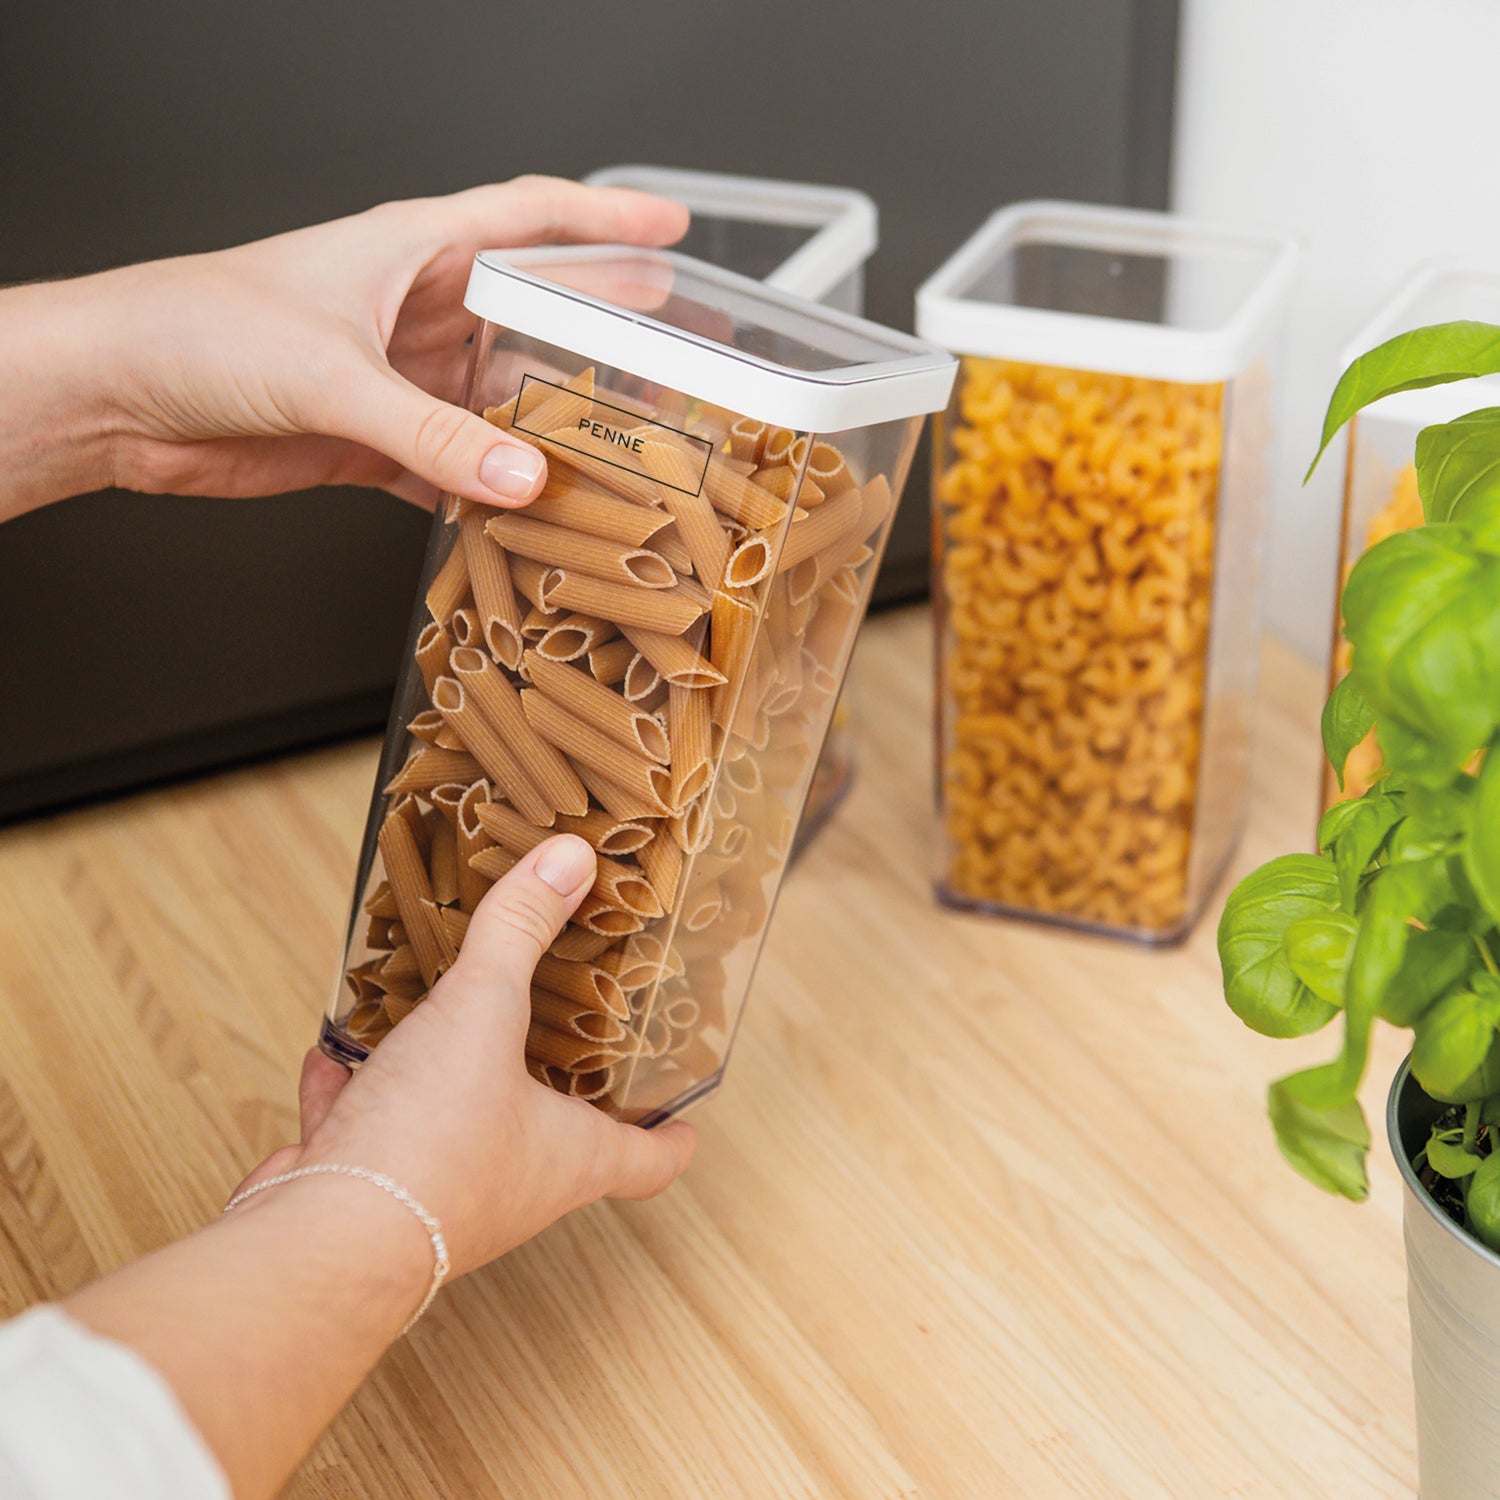
The use of the labels 1. The right placement
It is important that the labels are placed uniformly and are easy to read – preferably in the middle and always at the same height.
For storage containers in drawers, you should attach the label to the lid.
So you can easily read everything when you open the drawer and quickly find what you are looking for
2. Cooking time and best before date
Cooking time and best before date can be easily recorded on the container with a water-soluble pen. There are blank labels for writing on them, or you can also write the information directly on the containers.
3. Important notices
Special attention must be paid to allergies and food intolerances when labeling. Otherwise, important information could be lost and a health risk could arise. Two special labels are included in this set, each indicating that nuts or gluten-free products are included. Simply attach the respective warning directly under the label and rest assured that it will not be overlooked.
1. The right placement
It is important that the labels are placed uniformly and are easy to read – preferably in the middle and always at the same height.
For storage containers in drawers, you should attach the label to the lid.
So you can easily read everything when you open the drawer and quickly find what you are looking for
2. Cooking time and best before date
Cooking time and best before date can be easily recorded on the container with a water-soluble pen. There are blank labels for writing on them, or you can also write the information directly on the containers.
3. Important notices
Special attention must be paid to allergies and food intolerances when labeling. Otherwise, important information could be lost and a health risk could arise. Two special labels are included in this set, each indicating that nuts or gluten-free products are included. Simply attach the respective warning directly under the label and rest assured that it will not be overlooked.
Closet organization step by step 1. Everything out
Here we go: First clear all the groceries out of the cupboards so that you can take stock. This is the only way you can get an overview.
2. Categorize
Before the food can be sorted and decanted, it must first be scanned for moths and the expired best-before date. Then you can divide all supplies into groups according to different categories.
3. Sort out
Then you sort out everything that you no longer need or that has expired. Expired food naturally goes in the trash. Treats that you can't use yourself but are still good can also be given away.
4. Find a suitable place
Now you think about where you can best store the groceries. For example, how often you use which food can be decisive for the location. Of course, the more you use them, the easier and faster they should be accessible.
5. Storage tank
If you don't have any storage jars yet, first measure the cupboard or drawer and choose suitable containers based on the criteria mentioned above.
6. Decant
Now fill all the food into the respective containers and write down the best-before date and/or the cooking time on the containers, if you wish.
7. Labeling
Finally, you label the containers. Simply peel off the sticker and stick it in the desired place. Press again and you're done.
1. Everything out
Here we go: First clear all the groceries out of the cupboards so that you can take stock. This is the only way you can get an overview.
2. Categorize
Before the food can be sorted and decanted, it must first be scanned for moths and the expired best-before date. Then you can divide all supplies into groups according to different categories.
3. Sort out
Then you sort out everything that you no longer need or that has expired. Expired food naturally goes in the trash. Treats that you can't use yourself but are still good can also be given away.
4. Find a suitable place
Now you think about where you can best store the groceries. For example, how often you use which food can be decisive for the location. Of course, the more you use them, the easier and faster they should be accessible.
5. Storage tank
If you don't have any storage jars yet, first measure the cupboard or drawer and choose suitable containers based on the criteria mentioned above.
6. Decant
Now fill all the food into the respective containers and write down the best-before date and/or the cooking time on the containers, if you wish.
7. Labeling
Finally, you label the containers. Simply peel off the sticker and stick it in the desired place. Press again and you're done.

A few final tips Use generic terms: For products that change frequently, but which can be grouped together, you can use a generic term as a label. For example, just “pasta” instead of the exact kind. So you don't have to re-label the containers every time you change the pasta type.
Collection basket instead of storage jar: With food that is only bought for testing or very rarely, it is not necessarily worth transferring it to a storage jar. It is best to leave these items in their original packaging and collect them in larger baskets. If possible, these should also be airtight, since vermin can eat through the original packaging. Refills can also be stored here
On the labels, get set, go! Now you know the most important tips for mastering your little organization project. You will see how much easier the processes in your kitchen become and how much time you save because you don't have to search for so long. You can quickly see what you need to buy supplies from. You'll run out of less groceries, which will save you money. Plus, it's just so much more fun to cook in a well-organized kitchen.
And now have fun with the chic labels and with the implementation of the tips.
Use generic terms: For products that change frequently, but which can be grouped together, you can use a generic term as a label. For example, just “pasta” instead of the exact kind. So you don't have to re-label the containers every time you change the pasta type.
Collection basket instead of storage jar: With food that is only bought for testing or very rarely, it is not necessarily worth transferring it to a storage jar. It is best to leave these items in their original packaging and collect them in larger baskets. If possible, these should also be airtight, since vermin can eat through the original packaging. Refills can also be stored here
Now you know the most important tips for mastering your little organization project. You will see how much easier the processes in your kitchen become and how much time you save because you don't have to search for so long. You can quickly see what you need to buy supplies from. You'll run out of less groceries, which will save you money. Plus, it's just so much more fun to cook in a well-organized kitchen.
And now have fun with the chic labels and with the implementation of the tips.